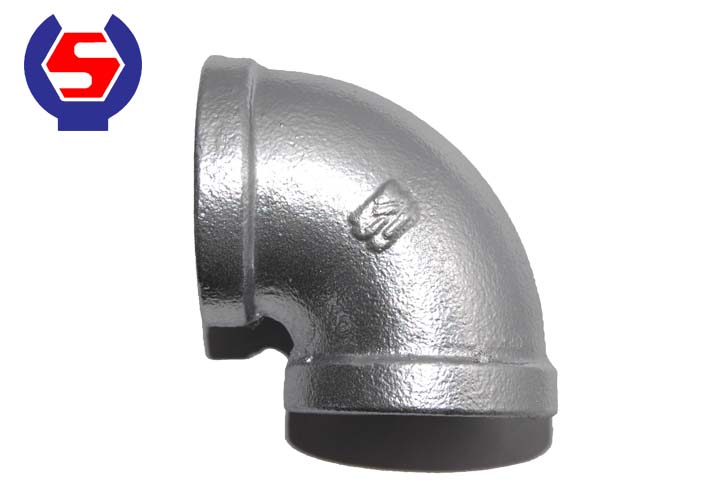
Malleable Iron Pipe Fittings Supplier shares with you.

1. Appearance inspection: visual observation is mainly conducted, sometimes with a magnifying glass of 5-20 times. Through the appearance inspection, the surface defects of welding elbow weld can be found, such as edge bite, welding tumor, surface crack, porosity, slag inclusion and welding through. The external dimension of the weld can also be measured by a welding detector or sample.
2. Nondestructive inspection: the inspection of slag inclusion, porosity, crack and other defects hidden in the weld. The most common use today is X-ray testing, as well as ultrasonic and magnetic testing. X-ray inspection is the use of X-ray to take pictures of the weld, according to the negative image to determine whether there are internal defects, the number of defects and types. Then according to the product technical requirements to assess whether the weld is qualified. The ultrasonic beam is emitted by the probe and transmitted to the metal. When the ultrasonic beam passes to the metal-air interface, it refracts and passes through the weld. If there is a defect in the weld, the ultrasonic beam is reflected in the probe and accepted, and a reflection wave appears on the screen. Based on the comparison and identification between these reflected waves and normal waves, the size and location of defects can be determined. Ultrasonic flaw detection is much simpler than an X-ray, so it is widely used. But ultrasonic flaw detection often can make a judgment only by the operation experience, and cannot leave examination basis. For internal defects not deep from the weld surface and extremely small cracks on the surface, a magnetic inspection can also be used.
3. Hydrostatic and pneumatic tests: for pressurized vessels where sealing is required, hydrostatic tests and/or pneumatic tests shall be carried out to check the tightness and bearing capacity of the welds. The method is to inject 1.25-1.5 times the working pressure of water or equal to the working pressure of gas (most is the air) into the container, stay for a certain time, and then observe the pressure drop in the container, and observe whether there is leakage phenomenon outside, according to these can be assessed whether the weld is qualified.
4. Mechanical property test of the elbow: non-destructive inspection can find the internal defects of welding seam, but can not explain the mechanical property of metal in the heat-affected zone of the welding seam. These tests are performed by the test board. The test board used had better be welded together with the longitudinal seam of the cylinder to ensure consistent construction conditions. The test plate is then tested for mechanical properties. In the actual production, the welding joint of new steel is only tested in this aspect.
Our company also sells Carbon Steel Pipe Fittings, welcome to contact us.